Transform Your Rental Kitchen with Peel and Stick Tiles: A Renter-Friendly Guide
You can catch up on my previous ORC posts here and you can also watch the whole ORC process on my Instagram highlight. Don’t forget to check out the rest of the participants!
Are you tired of your dull and outdated rental kitchen? Do you dream of a quick and easy way to give it a fresh and stylish makeover? Well, you're in luck! I've got an exciting solution for you. Today, I'm going to walk you through the process of upgrading your rental kitchen floor using peel and stick tiles. By the end of this guide, you'll not only have a gorgeous new kitchen floor but also a sense of pride and accomplishment in your DIY skills. So, are you ready to take your rental kitchen from drab to fab? Let's dive in!
Why Upgrade with Peel and Stick Tiles?
Before we jump into the step-by-step guide, let me share a little story with you. I recently embarked on a journey to transform my rental kitchen as part of my One Room Challenge makeover. Like many renters, I faced limitations, but I was determined to make a change without breaking the bank or risking my security deposit. That's when I discovered the magic of peel and stick tiles. These versatile, renter-friendly tiles allowed me to achieve a stunning look without the hassle of traditional tiling.
Step 1: Gather Your Supplies
Before we get started, it's crucial to have all your supplies ready. Here's what you'll need:
Peel and stick tiles (make sure to measure your kitchen to determine the quantity needed)
Scissors
Measuring tape
Straight edge (a ruler or a level will work)
Sharpie
Cleaning supplies (to prep your existing floor)
A friend for assistance (optional but helpful)

Before the makeover

Play around with the design and pattern

Peek the backing off the tiles and apply it to the clean floor.
Step 2: Prepare the Surface
Now that you have your supplies, it's time to prep the kitchen floor. A clean and smooth surface is essential for proper adhesion. Here's what you need to do:
1. Remove any existing flooring or carpeting.
2. Clean the floor thoroughly, removing any dirt, dust, or debris.
Step 3: Measure and Plan
Proper planning is the key to a successful peel-and-stick tile installation. Measure your kitchen floor, ensuring accuracy. Remember, it's better to measure twice and cut once! Here's how I did it:
1. Start by finding the center of your kitchen.
2. Lay out tiles from the center towards the walls to see how they'll fit.
3. Use a pencil and straight edge to mark cutting lines for tiles that need to be trimmed to fit along the edges.
Step 4: Begin Installing Peel and Stick Tiles
Now comes the exciting part - installing the peel-and-stick tiles. This is where your kitchen floor makeover really takes shape. Follow these steps:
1. Start in the center of your kitchen, working your way towards the walls.
2. Peel off the backing from the first tile and carefully place it in the center.
3. Press down firmly to ensure a strong bond with the floor.
4. Continue adding tiles in a staggered pattern, matching the edges.
5. Use your straight edge and utility knife to trim tiles as needed to fit along the walls or obstacles.
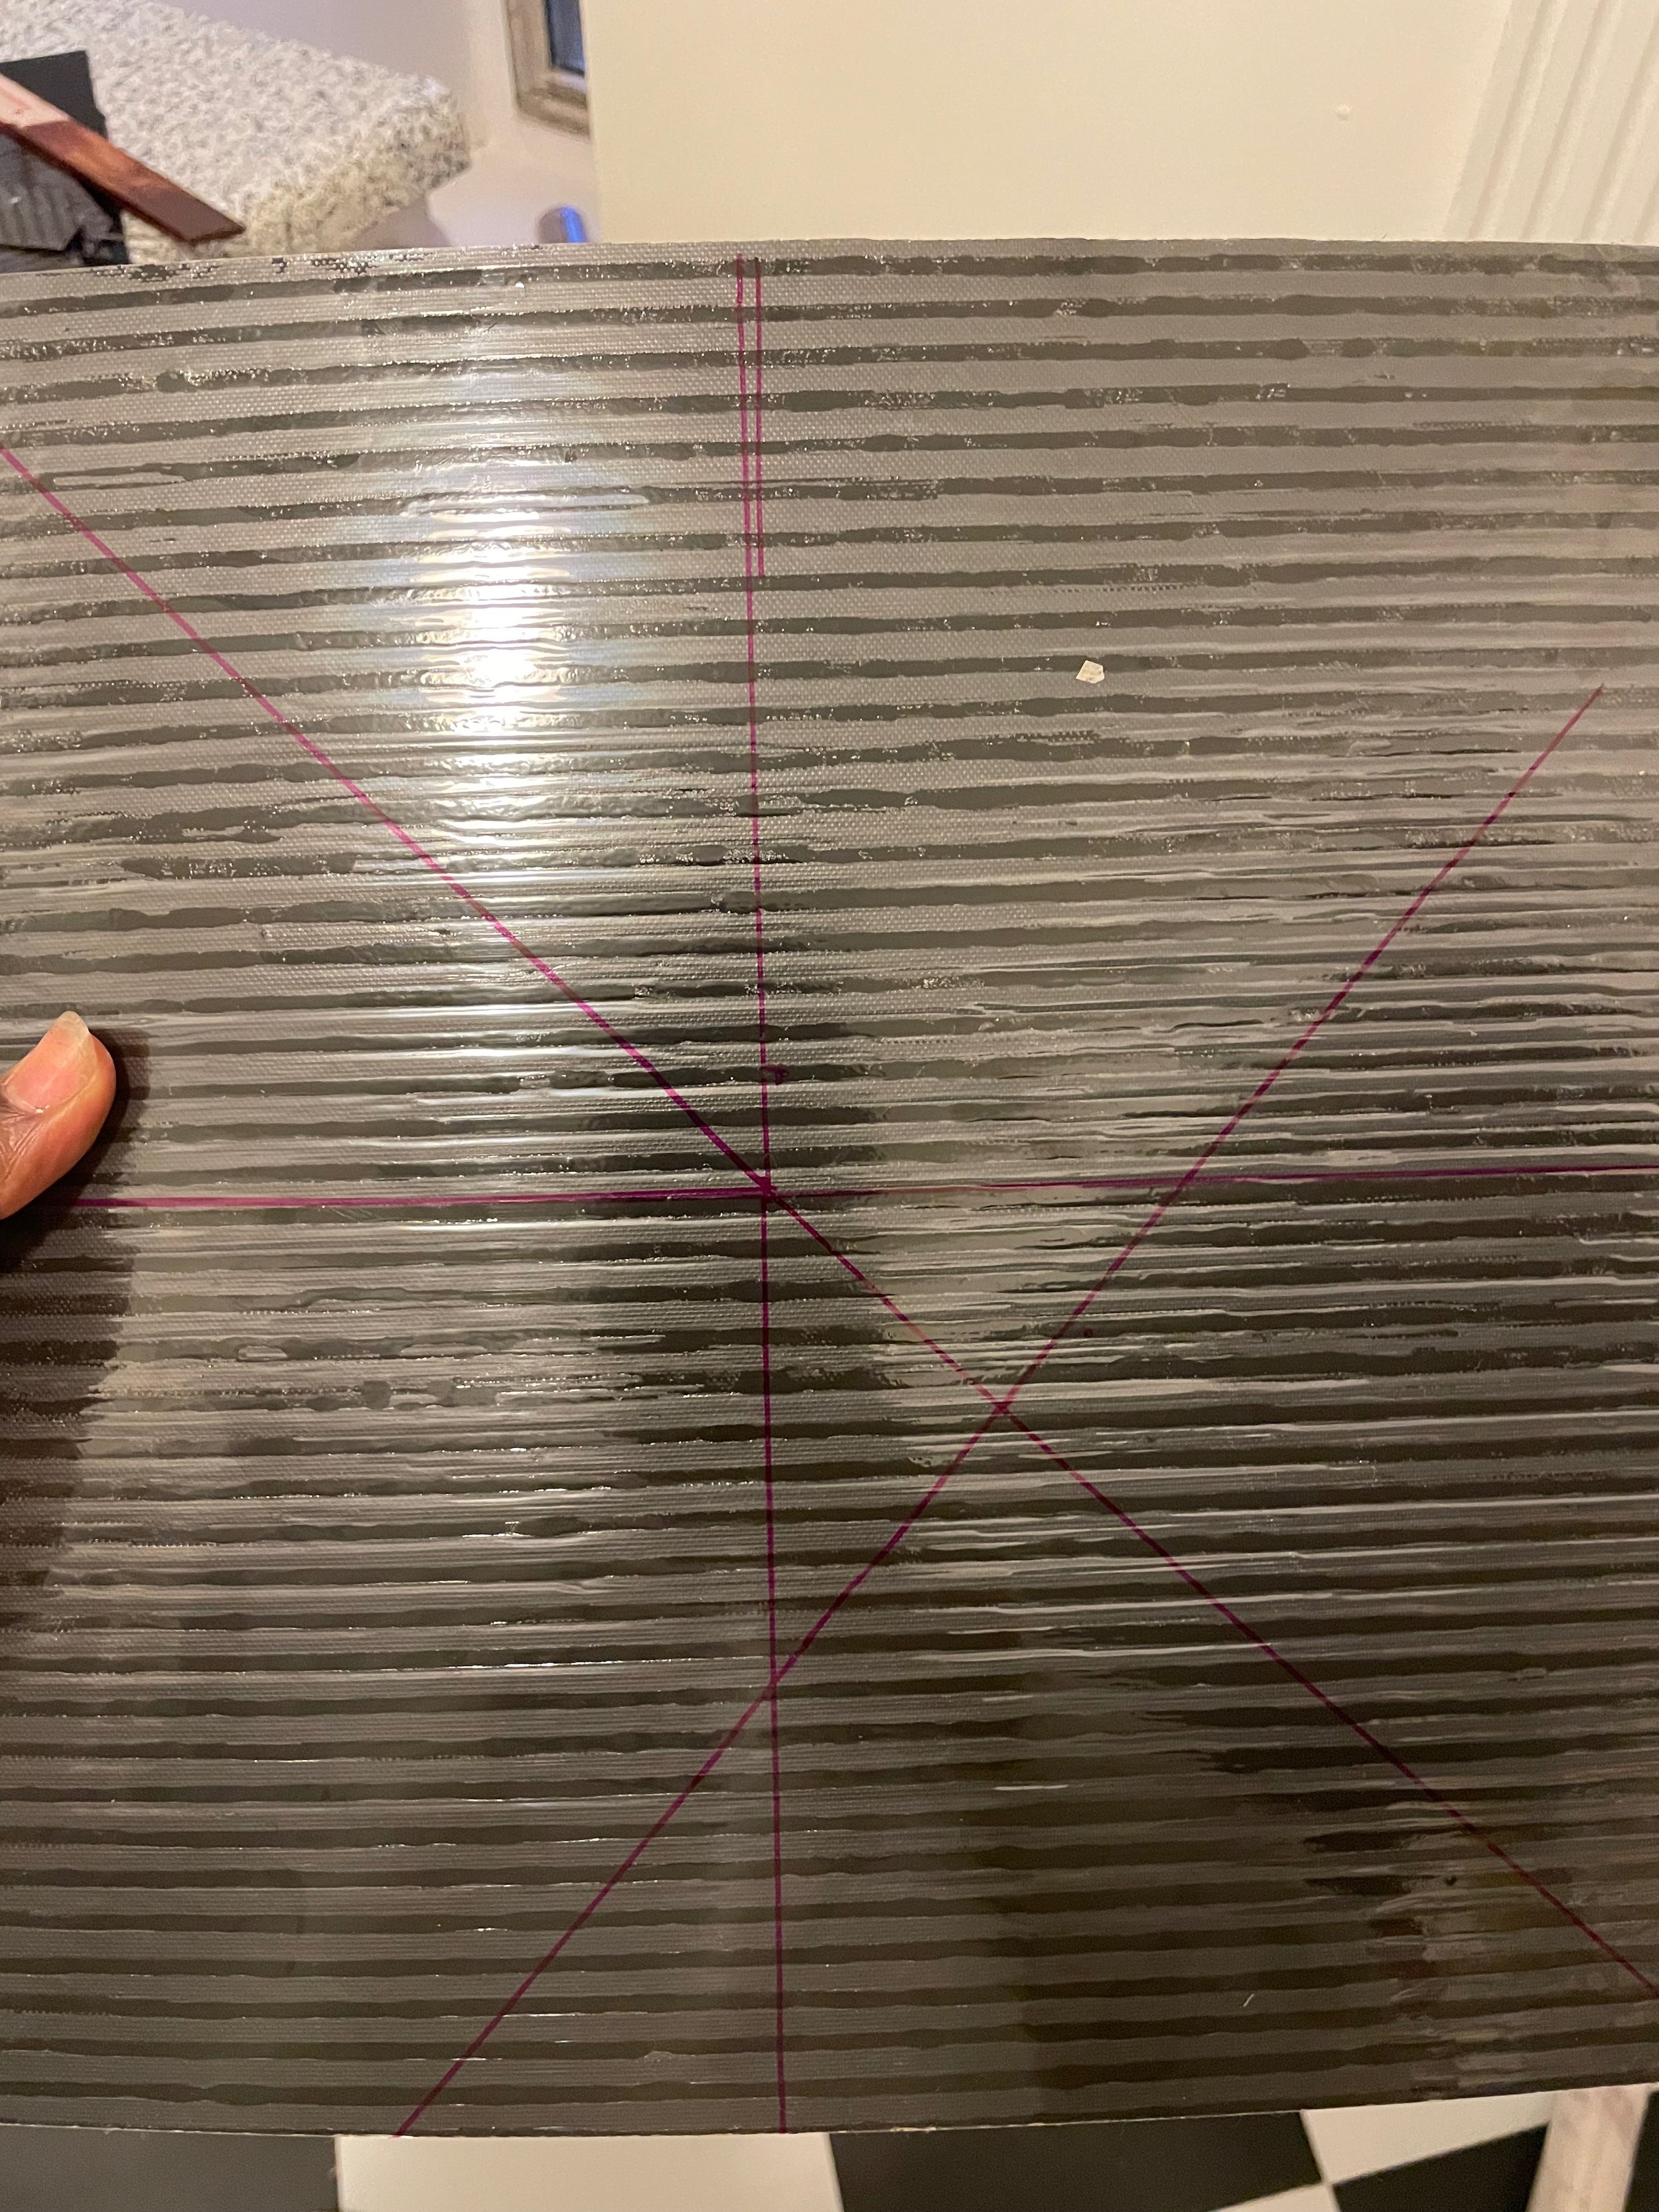
Use a Sharpie and box cutter to cut your tiles down to size
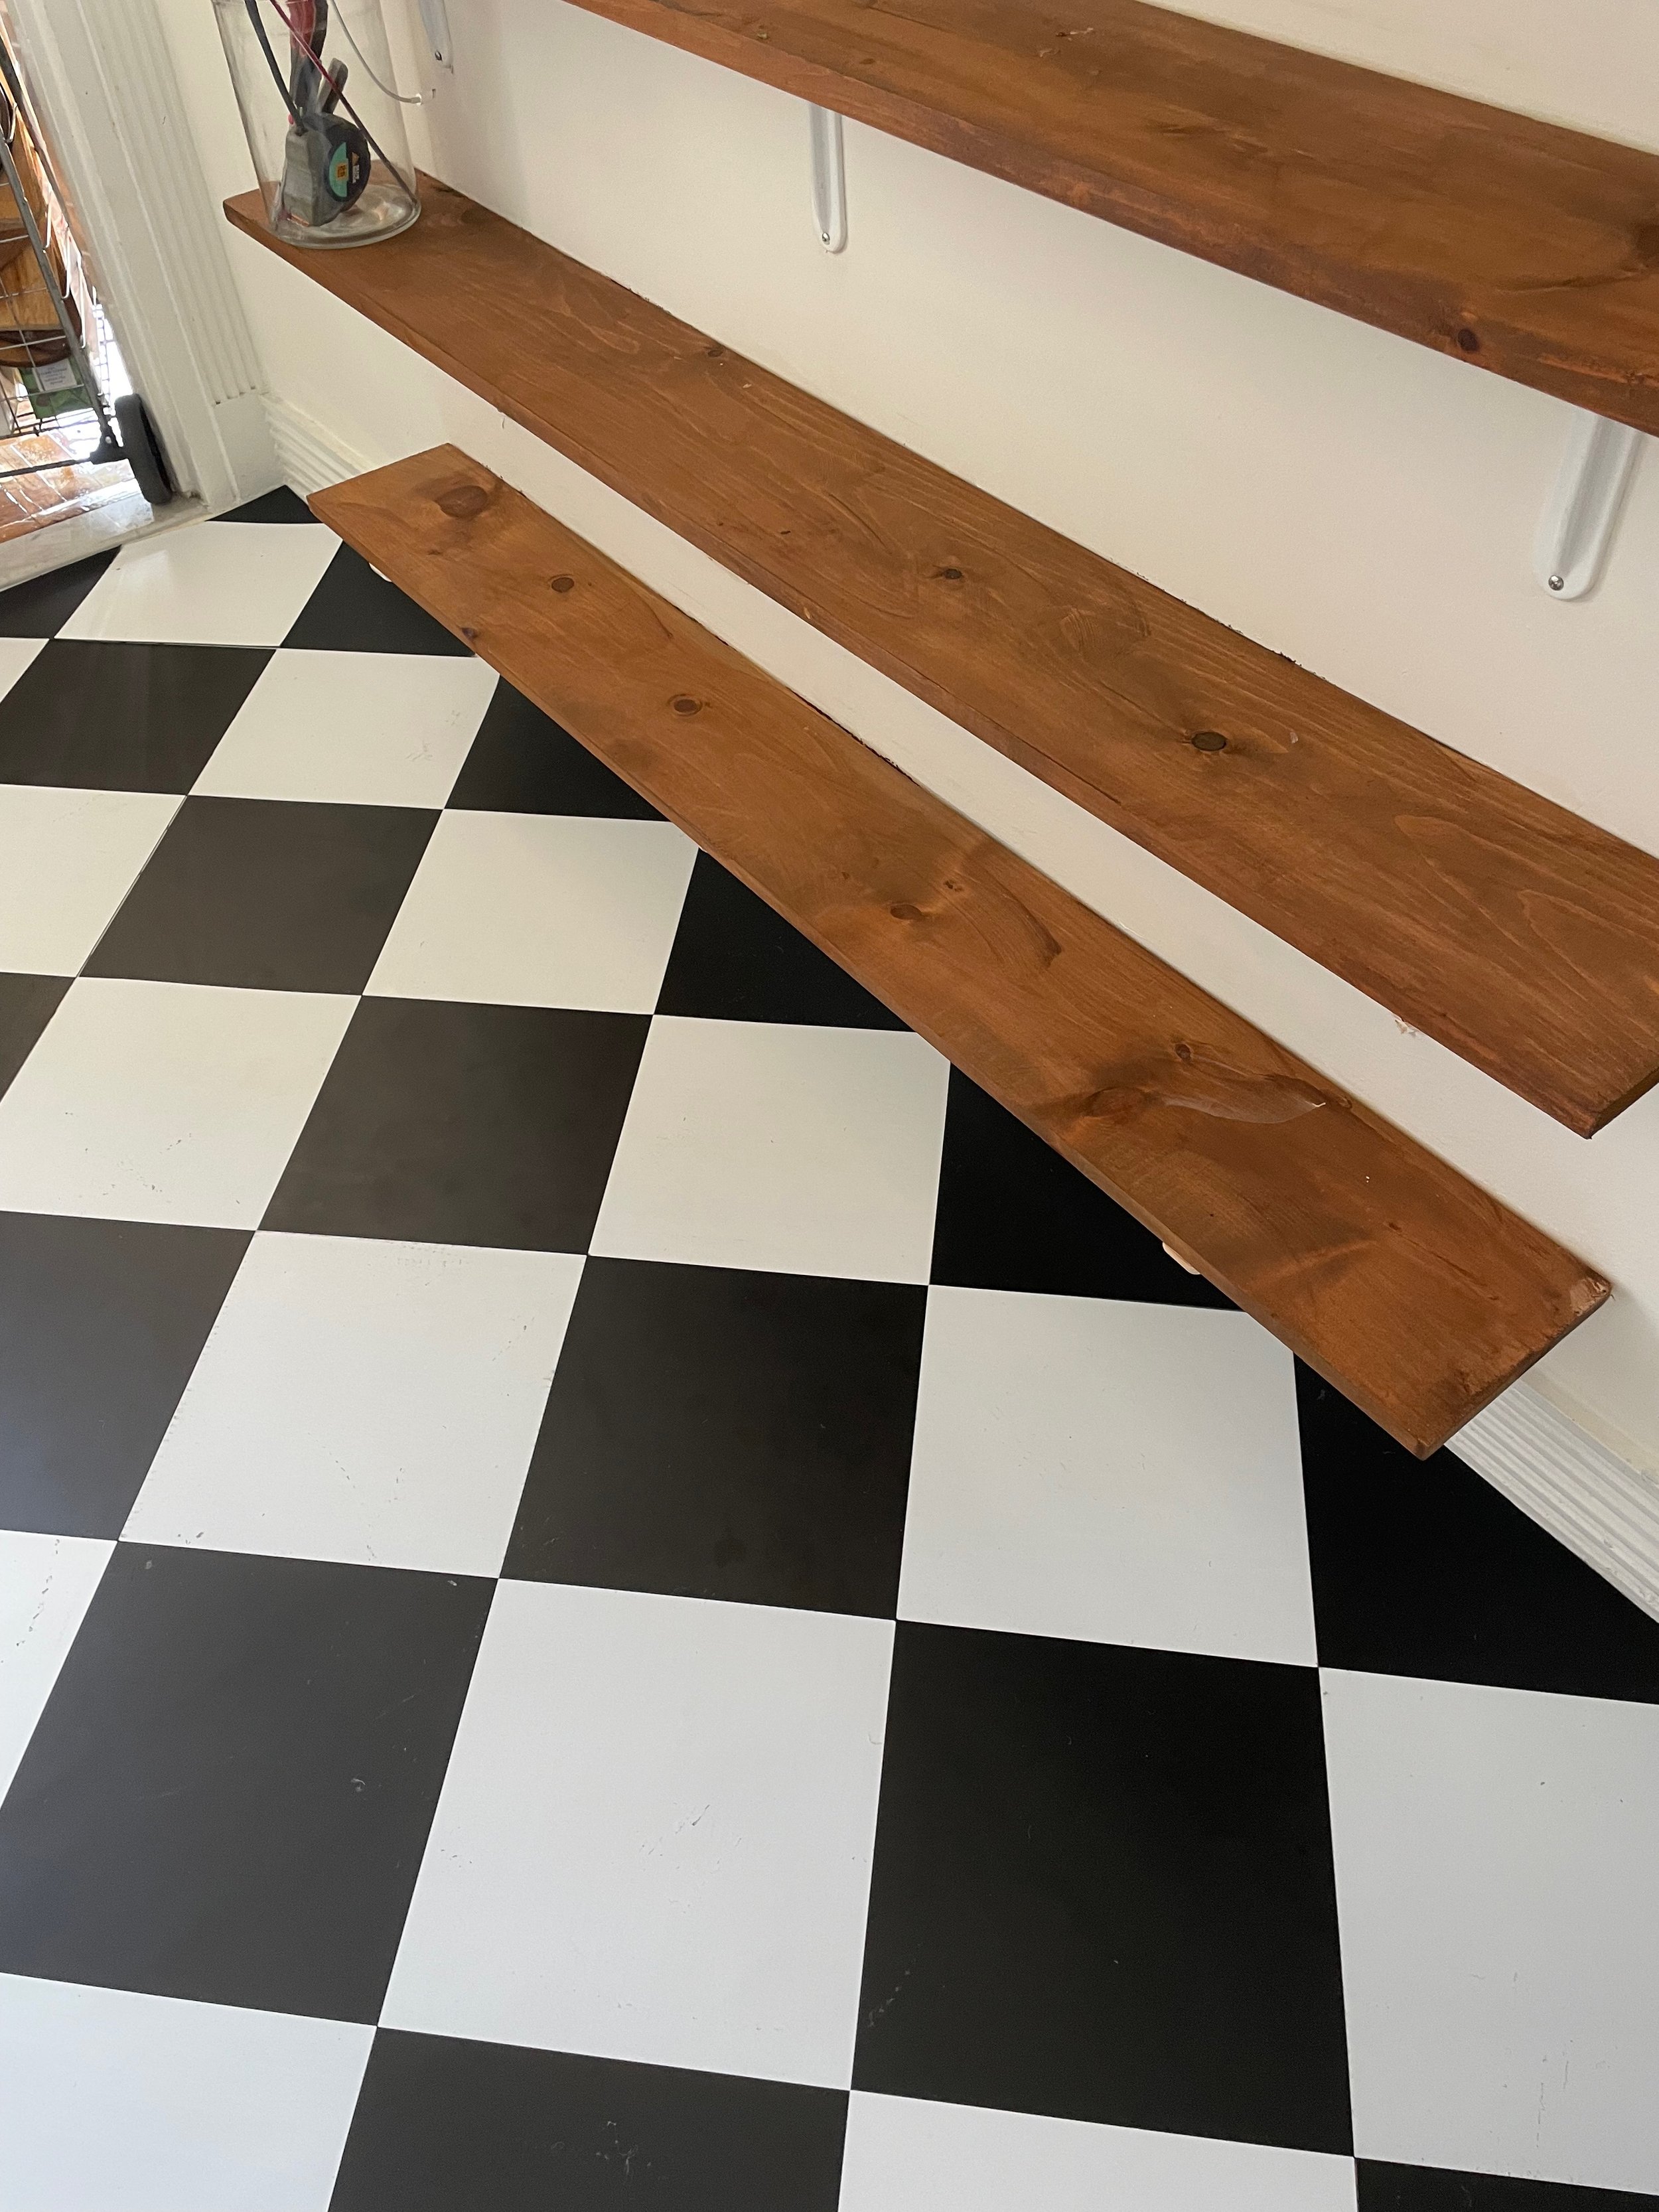
After i put the tiles down, I stained my shelves to better match the new floors

The final look!
Step 5: Create a Perfect Finish
As you near the edges of your kitchen, you may need to make some custom cuts to ensure a seamless finish. Here's how to do it:
1. Measure and mark any tiles that need trimming.
2. Use your straight edge and utility knife to make precise cuts.
3. Carefully fit the trimmed tiles in place, ensuring a snug fit.
Step 6: Finish and Admire Your Work
Congratulations! You've successfully transformed your rental kitchen floor with peel-and-stick tiles. Take a step back and admire the stunning new look you've created.
But before we conclude, let me share a valuable tip: use a roller to ensure the tiles are firmly pressed down, especially along the edges and seams. This extra step will enhance the longevity of your beautiful new floor.
As a fellow DIY enthusiast and someone who has been through this process, I can assure you that this project is renter-friendly, budget-friendly, and incredibly satisfying.
Whether you're participating in a One Room Challenge makeover like I am or simply looking to refresh your space, peel-and-stick tiles offer a fantastic solution. They're easy to install, customizable, and can instantly elevate the aesthetics of your kitchen.
I encourage you to take the leap and give your rental kitchen the makeover it deserves. And remember, you're not alone in this journey. You can find more inspiring projects like this one on my Instagram and TikTok, where I share videos of my DIY adventures. So, go ahead, embark on this exciting project, and don't forget to share your thoughts in the comments below. I'd love to hear about your experiences and any tips you have for fellow DIY enthusiasts.
Happy decorating!
Affiliate Disclosure: Some of the links on this website are affiliate links, which means I may earn a commission if you click on them and make a purchase. Your use of these links helps support my website, and I only recommend products or services I genuinely believe in. Thank you for your support!