ORC Fall '23: Organizing My Spice Collection
You can catch up on my previous ORC posts here and you can also watch the whole ORC process on my Instagram highlight. Don’t forget to check out the rest of the participants!
Picture this: You're in the middle of whipping up your favorite dish when you suddenly realize that the essential spice you need is nowhere to be found. Frustration sets in as you scramble through disorganized drawers, desperately searching for that elusive ingredient. If this scenario sounds all too familiar, you're in the right place. I faced this culinary conundrum when I moved into this apartment and realized my kitchen severely lacked storage. As someone who loves to cook, I use tones of different herbs and spices. As an avid traveler, I often brought back aromatic treasures from my adventures. It was high time to transform chaos into order.
As part of my One Room Challenge makeover, I will be revamping my spice collection organization. I'll share my steps, the materials and tools I used, and the lessons I learned. This project was not only about organizing my spices but also about adding a dash of aesthetic appeal to my kitchen. You can follow my spice organization adventure on Instagram and TikTok, where I've posted videos of the entire process.
Materials and Tools
Before we plunge into the aromatic world of spice organization, let's gather the essential materials and tools you'll need for this flavorful endeavor:
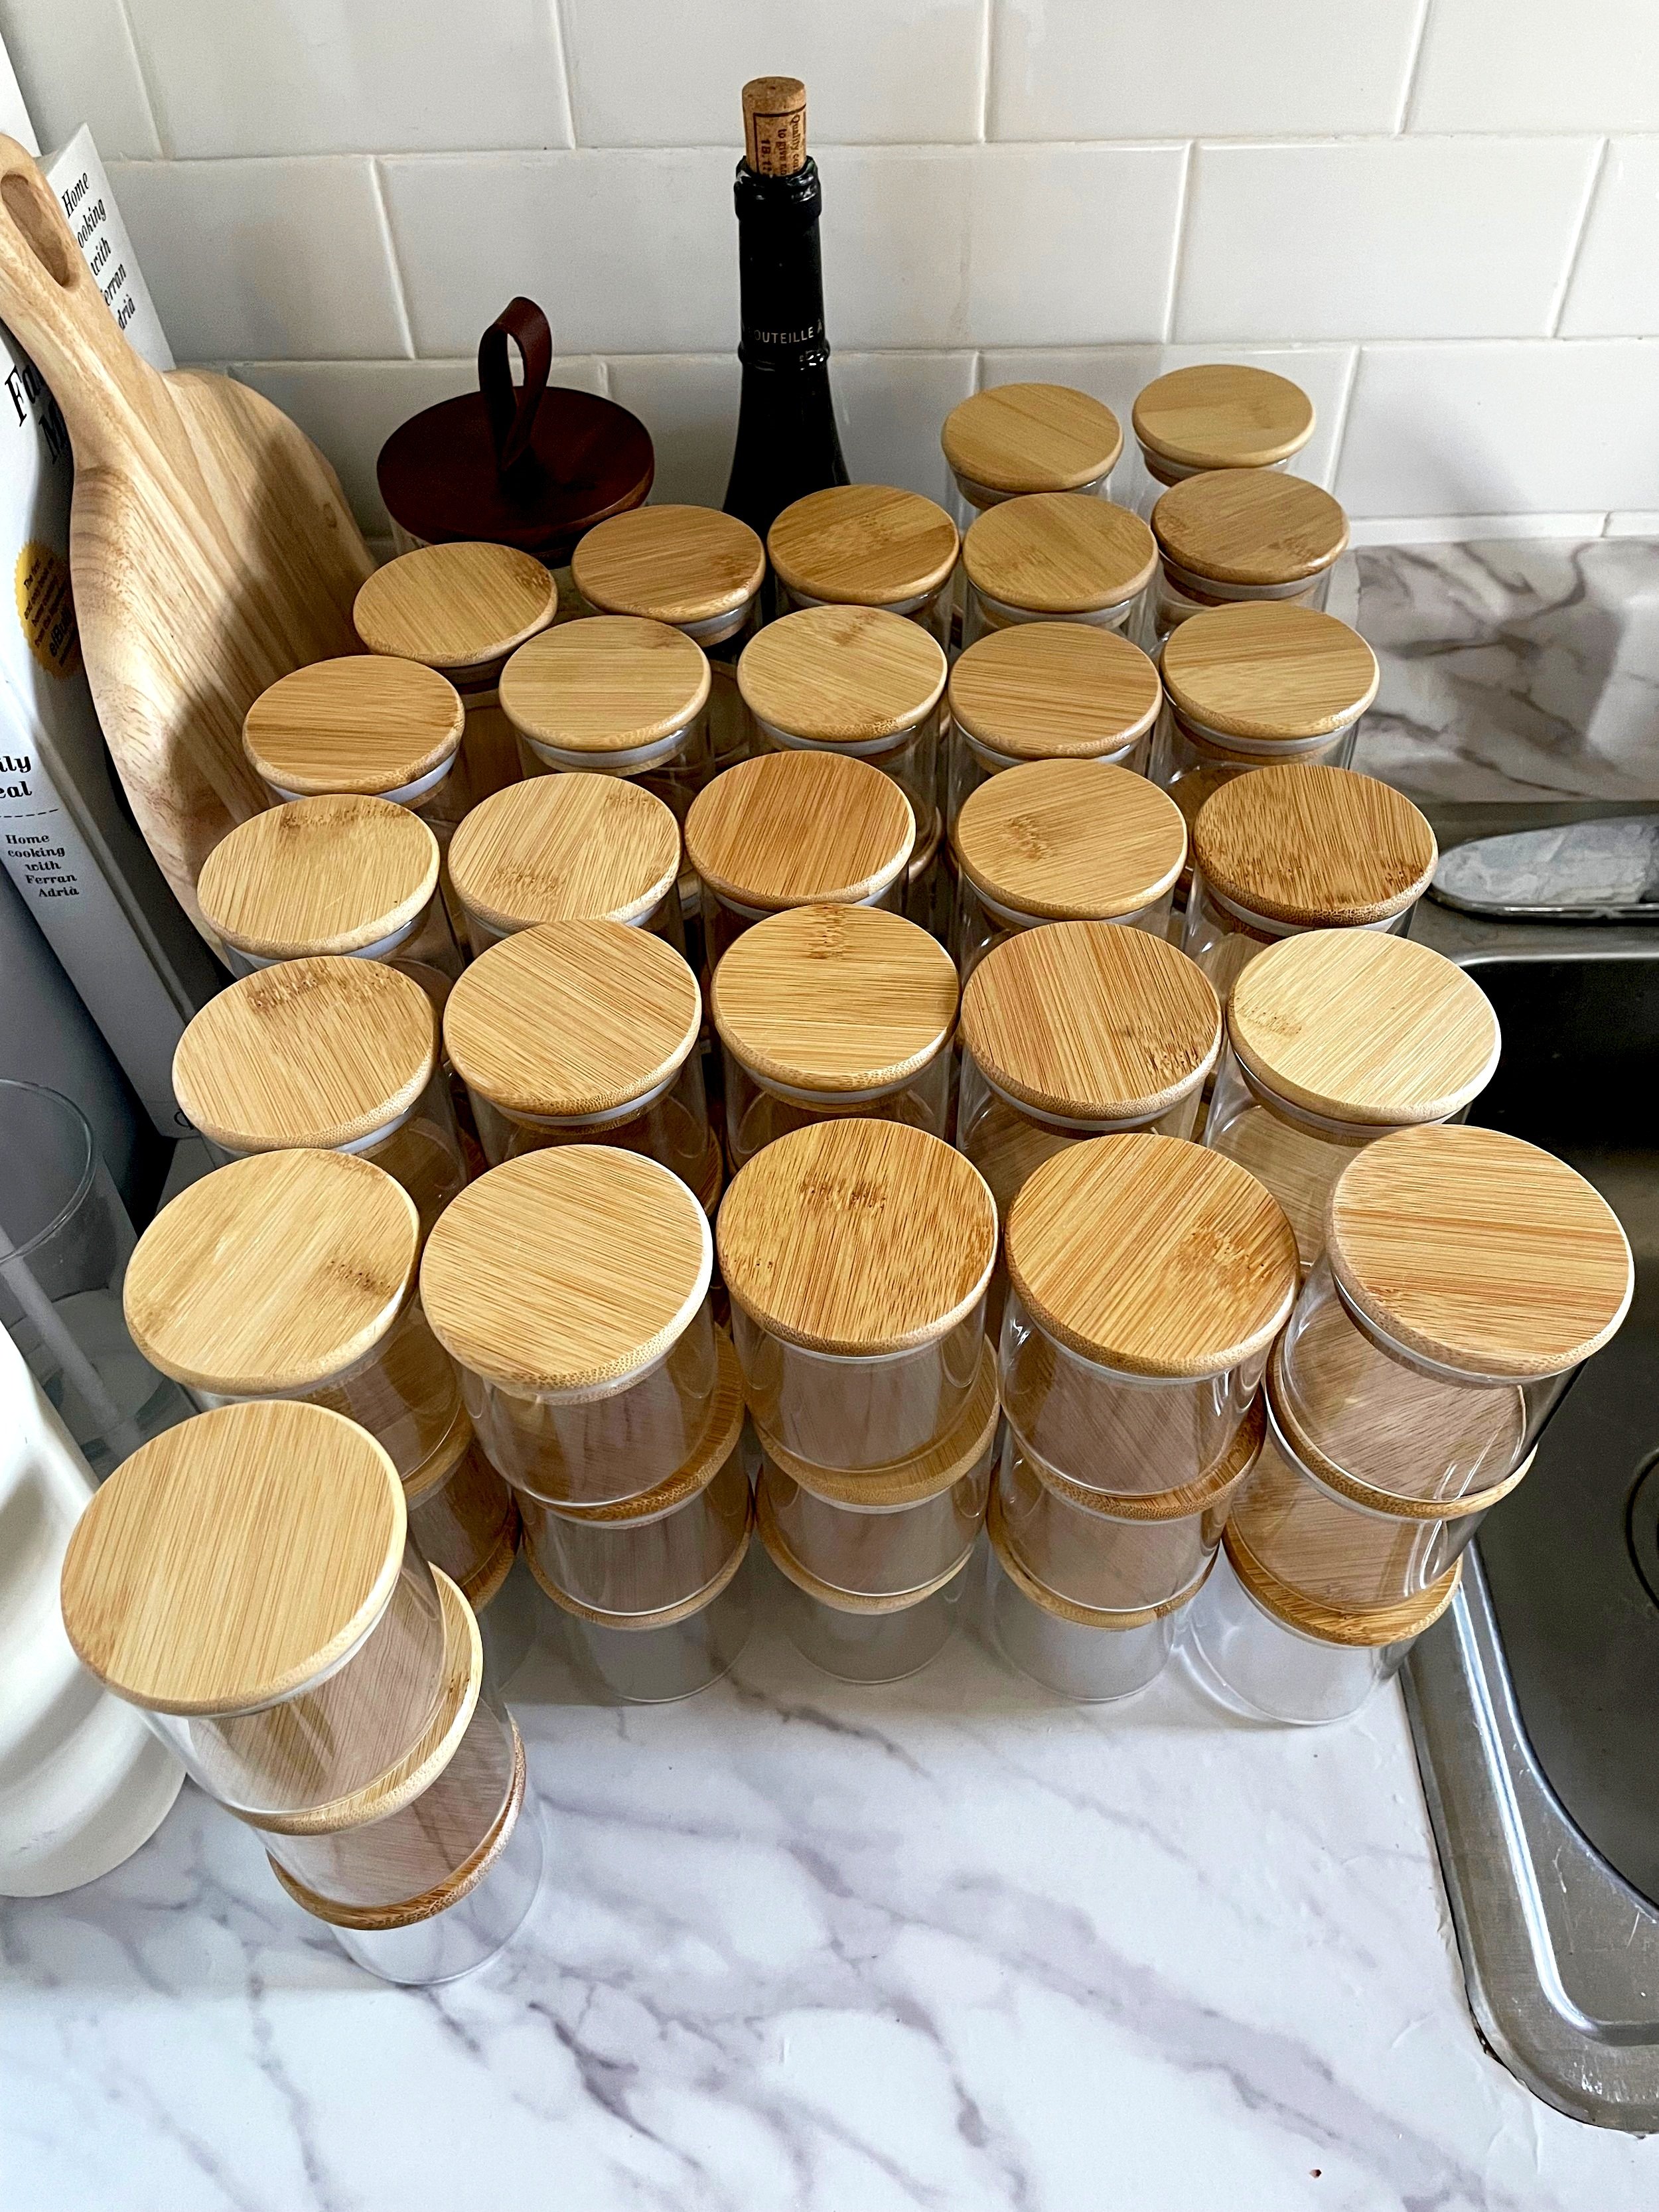
Borosilicate Glass Jars With Bamboo Lids (I used 3 oz jars)
Nails
Hammer
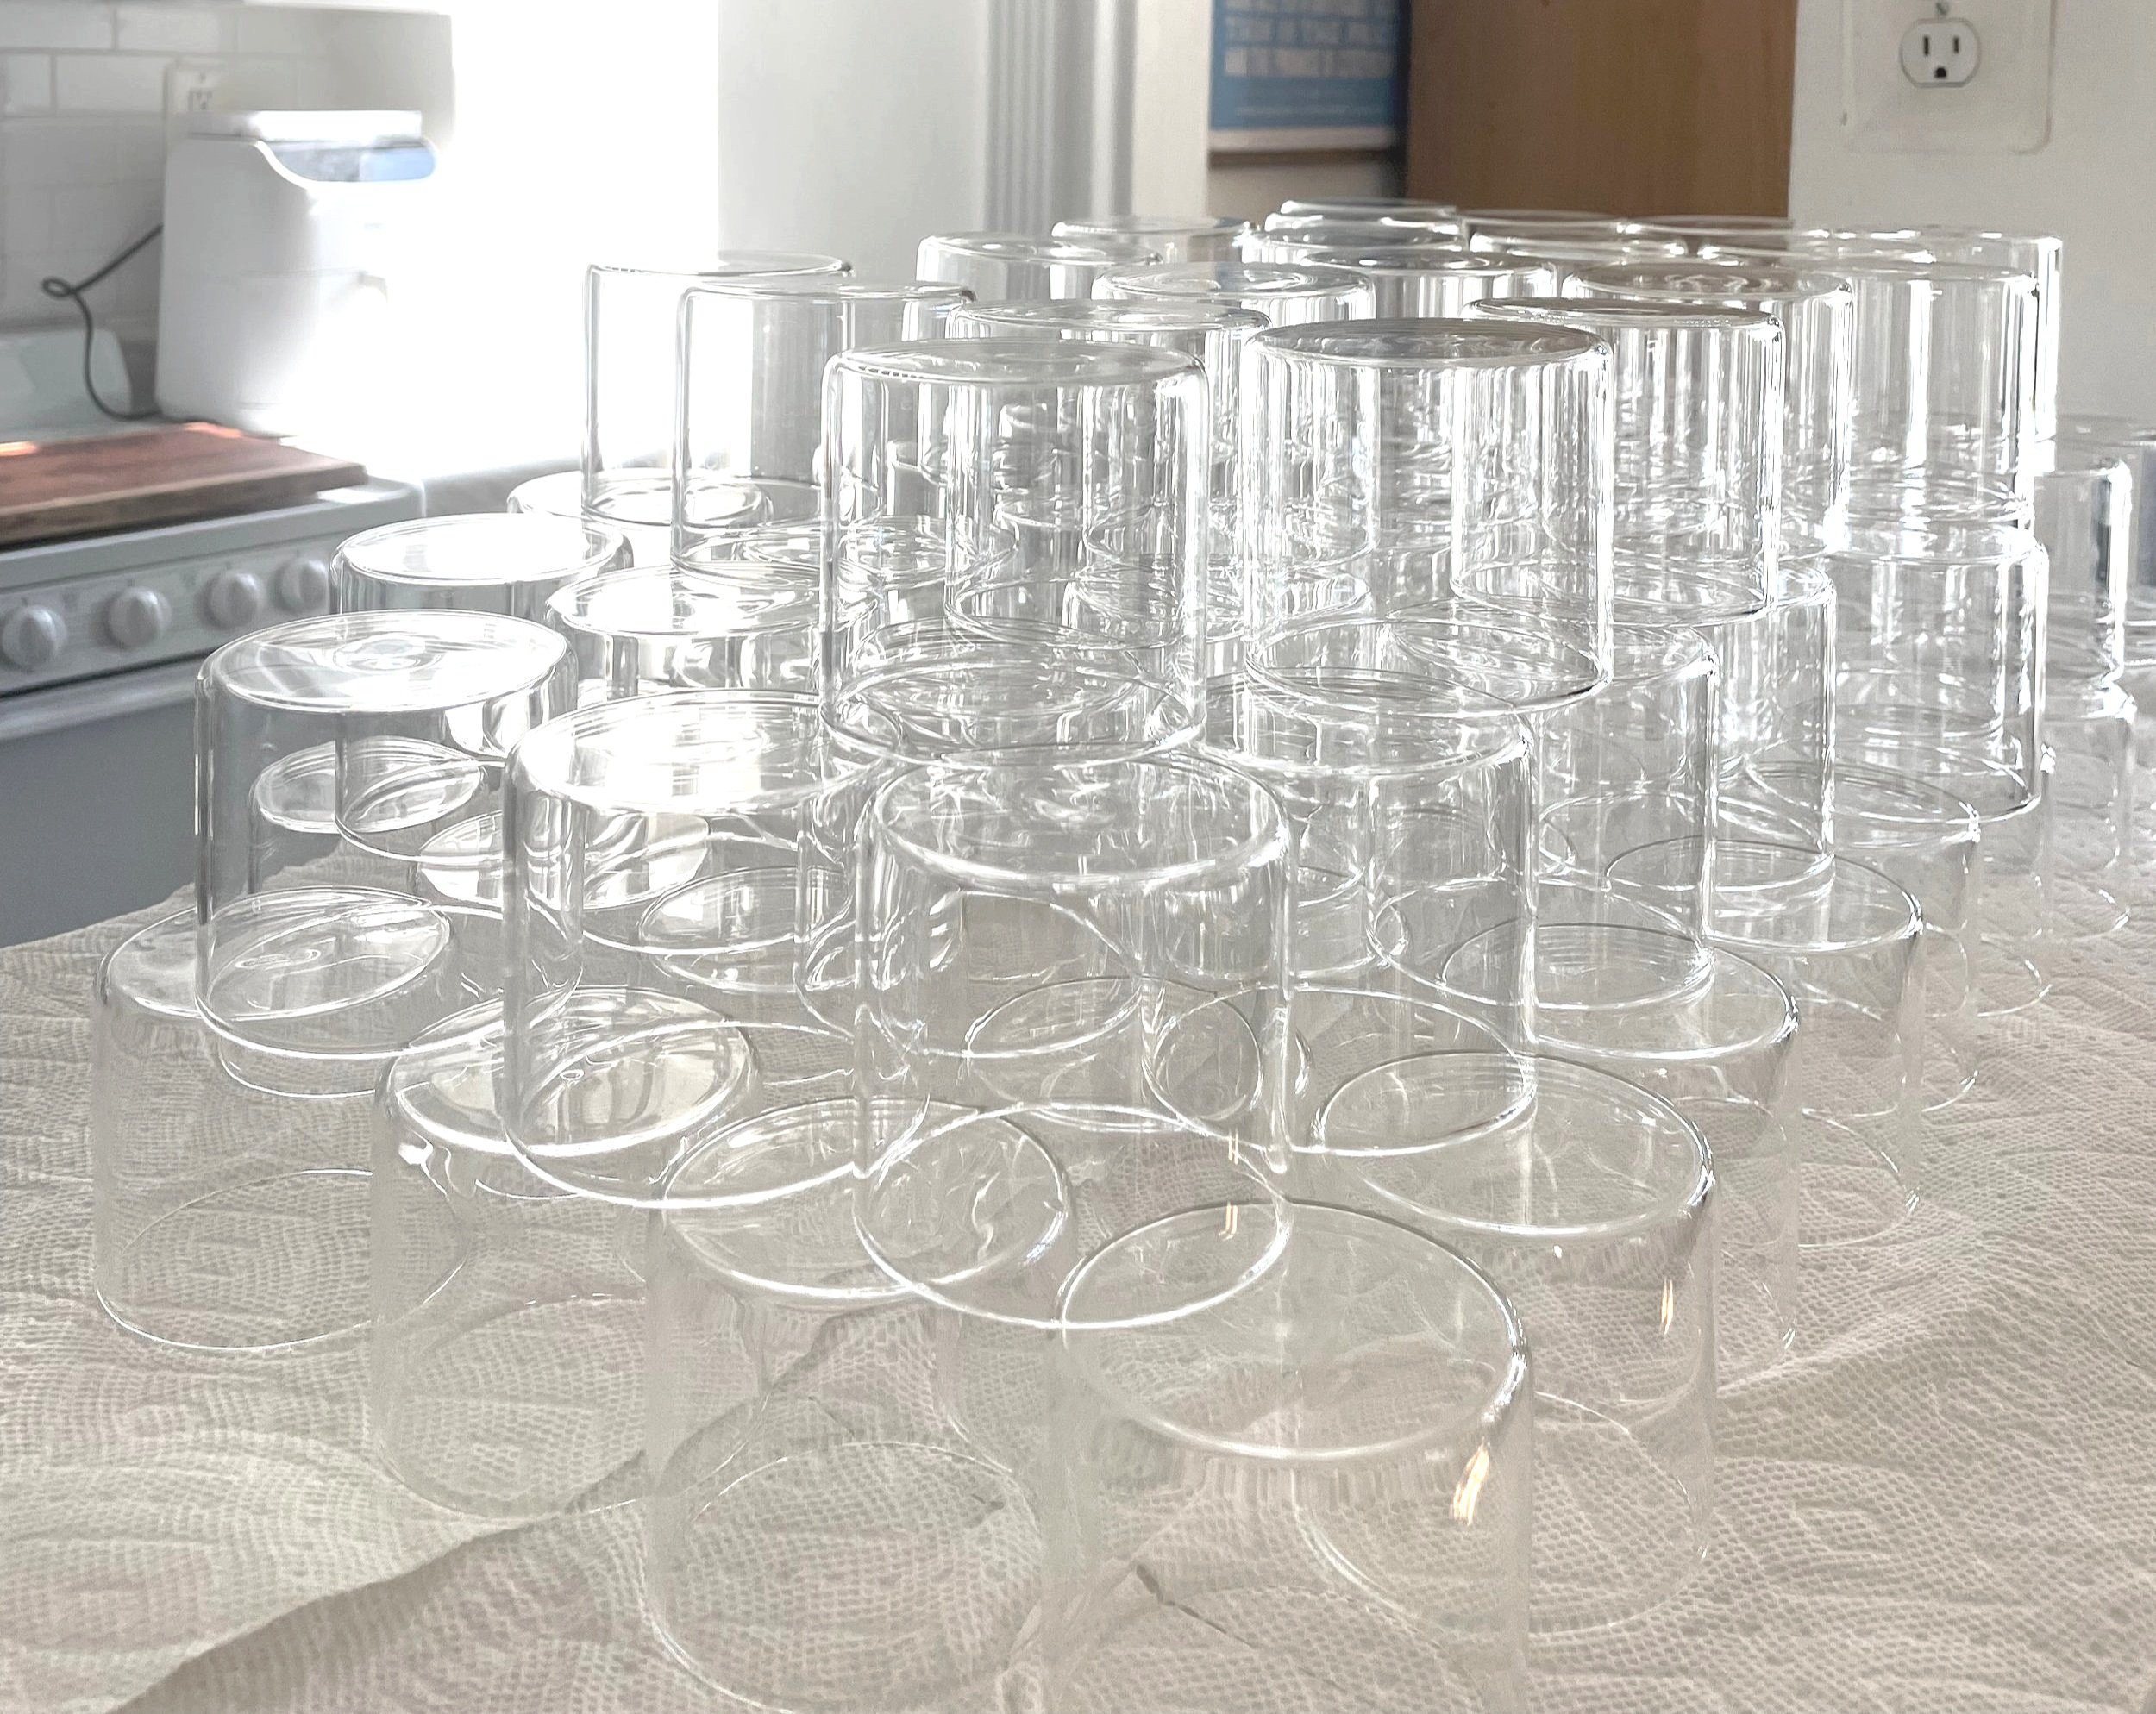
Step 1: The Awaiting Jars
I began with unpacking the jars I ordered online. It's essential to give these glass jars a good hand wash, taking care not to wash the bamboo lids. After their bath, I left them to dry overnight, ensuring there was no lingering moisture to spoil my spices' freshness.
Step 2: A Personal Touch with Labels
To add a personal touch, I opted for custom waterproof labels from a talented Etsy seller. I sent them a list of all my spices and herbs, and they worked their magic, creating labels for my collection.
PRO TIP:
Before attaching the labels, I placed a piece of tape at the tip of each lid to serve as a guide for uniform label placement.
Step 3: Transfering the Spices
With the labels (nearly) perfectly placed, I started transferring my spices into their new jars. This was an oddly satisfying process that signified both decluttering and renewal.

Step 4: Installing the Shelves
The next step was to mount the shelves holding the spices to the wall. Each shelf could hold five of my 3 oz jars, and with 90 spices, I required 17 of these.
I used nails to mount the shelves. The shelves come with studs and screws; however, since each shelf required three screes and I had 17 shelves, I did not want to drill nearly 60 holes in my rental apartment walls. Given how light the jars are, I felt comfortable using just nails to mount the shelves. The shelves needed to be close enough to maximize my limited kitchen wall space yet far enough apart for easy spice retrieval. I used a level to ensure that the shelves were perfectly straight—after all, we wouldn't want any unexpected spice avalanches!
Step 5: Organize Spices
As the final shelf found its place on my kitchen wall, I couldn't help but admire the transformation. I gently dusted the shelves and wiped them down with a cloth.
I transferred each jar to its designated spot on the shelves. The transformation was complete, and my kitchen had undergone a spicy metamorphosis.
Other Spice Organization Ideas
Though this project was relatively straightforward, finding the perfect location for the shelves was the greatest challenge. My small galley kitchen offered limited wall space with its two doors and a pass-through window. Creativity was key in determining the shelves' placement.
But why choose this specific spice organization method? I had considered other options. Storing spices on open kitchen shelves had its appeal, but the sheer size of my collection would have monopolized valuable space and made accessing individual spices a hassle.


Another intriguing idea was to craft a hidden pull-out cabinet beside the refrigerator—a solution that would reduce visual clutter. Unfortunately, the limited space between my fridge and cabinets quashed that dream.
Tips and Tricks
As with any journey, there are lessons learned and wisdom gained. Here are two key tips and tricks I learned along the way:
After labeling the jars, I arranged them alphabetically, making the transfer process smoother than ever.
A piece of tape at the tip of your lid can serve as a guide for attaching labels uniformly.
Already, I find it easier to access my spices. But I also find it easier to keep track of which spices I need to restock because I can easily see them laid in front of me. No more realizing I’ve run out of garlic powder mid-cooking session. In addition, moving my spices to the wall has freed up 3 our of the 4 drawers in my kitchen, which has been a godsend for storing my other cooking utensils.
Not only has this project enhanced the functionality of my kitchen, but it also adds a touch of elegance to the culinary experience. The clear jars and clean white labels seamlessly blend with my kitchen decor, making every spice a work of art.
So, my fellow culinary enthusiasts, are you ready to embark on your own spice organization adventure? Share your thoughts, experiences, and questions in the comments below. Spice up your kitchen and elevate your culinary creations!
Affiliate Disclosure: Some of the links on this website are affiliate links, which means I may earn a commission if you click on them and make a purchase. Your use of these links helps support my website, and I only recommend products or services I genuinely believe in. Thank you for your support!