ORC Fall '23: Create a Renter-Friendly Faux Lime Wash Effect on Your Walls with Ease
You can catch up on my previous ORC posts here and you can also watch the whole ORC process on my Instagram highlight. Don’t forget to check out the rest of the participants!
Are you craving the rustic charm of a lime wash finish for your walls but stuck in a rental where permanent changes are a no-no? Well, I've been there too, and I've got the perfect solution for you! In this comprehensive guide, I'll walk you through every step to achieve a stunning faux lime wash effect on your walls using regular paint. Yes, you read that right – it's renter-friendly, budget-friendly, and incredibly easy. So, let's dive in, and I promise you'll gain the confidence and knowledge to transform your space into a work of art. For a video of this process, check out my Instagram.

Removing wallpaper and priming my walls
Materials
1 dark paint color
1 light paint color
1 medium paint color (optional)
Bucket (for mixing paint)
Stir Stick
Step 1: Prep Your Walls
Before you embark on your faux lime wash adventure, you'll need to prepare your canvas. In my case, I had to deal with wallpaper and some unsightly drywall imperfections. Here's how to get started:
First, carefully remove any wallpaper that might be on your walls. I am removing the wallpaper I installed using my renter-friendly method. Once the wallpaper is gone, inspect your walls for any holes, dings, or other imperfections. Chances are, you'll find a few. No worries – this is where a drywall patch kit comes in handy. Follow the kit's instructions to patch up any flaws. Sand the patches until they're smooth, and your walls are ready for the next step.
Step 2: Pick 2-3 Paint Colors
Now that your walls are primed and ready, it's time to choose your paint colors. This step is crucial because the right colors will make or break your faux lime wash effect. Here's what to consider:
Select 2-3 paint colors that are very similar to each other. Imagine if you were to create a paint sample stripe; the colors should be no more than 1-2 shades apart. This subtle variation will give depth and character to your faux lime wash.

Your mixture should be the consistency of orange juice, sans pulp.
For my project, I opted for Benjamin Moore's "Going to the Chapel" as my darker color and "Swiss Coffee" as my lighter color. These two hues complemented each other beautifully and created the textured look I was aiming for.
Step 3: Mix Your Darker Paint Color
In this step, you'll prepare your darker paint color for the faux lime wash. Here's how to do it:
In a separate bowl, mix your darker paint color with water in a 1:1 ratio until the paint reaches the consistency of orange juice. The water thins the paint, allowing it to spread more easily and create the desired effect.
Step 4: Create X Patterns
Now, it's time to start applying your faux lime wash. This is where the magic begins:
Take a thick brush and dip it into the mixture you prepared in Step 3. Begin making "x" patterns all over your wall. These X's should vary in size and location, and don't be afraid to let them overlap. One essential tip here is not to attempt to fill in any gaps; those variations in color will add depth and enhance the faux lime wash effect.
As you work your way around the room, you'll notice the transformation happening before your eyes. The texture will begin to emerge, and you'll start to get a sense of the rustic charm that drew you to this technique in the first place.
Step 5: Allow the First Coat to Dry
After completing your first round of X patterns, it's time to exercise patience. Let the paint dry thoroughly before moving on to the next step. This waiting period can be a test of your patience, but trust the process – it's an essential part of achieving the perfect faux lime wash effect.

Brush making X patterns on the wall with watery paint.
Step 6: Mix Your Lighter Paint Color
While waiting for the first coat to dry, prepare your lighter paint color for the next phase:
In a separate bowl, create a second mixture using your lighter paint color. This color will complement the darker shade and add further dimension to your faux lime wash.
Step 7: Repeat the X Patterns
Once the first coat is dry, pick up your brush again and repeat the process of making "x" patterns on the wall, this time using the lighter paint mixture. Be cautious not to overload your brush, as the watery consistency could lead to drippy marks. Aim for consistency in the pattern while embracing subtle variations in color.
Step 8: (Optional) Add a Third Color
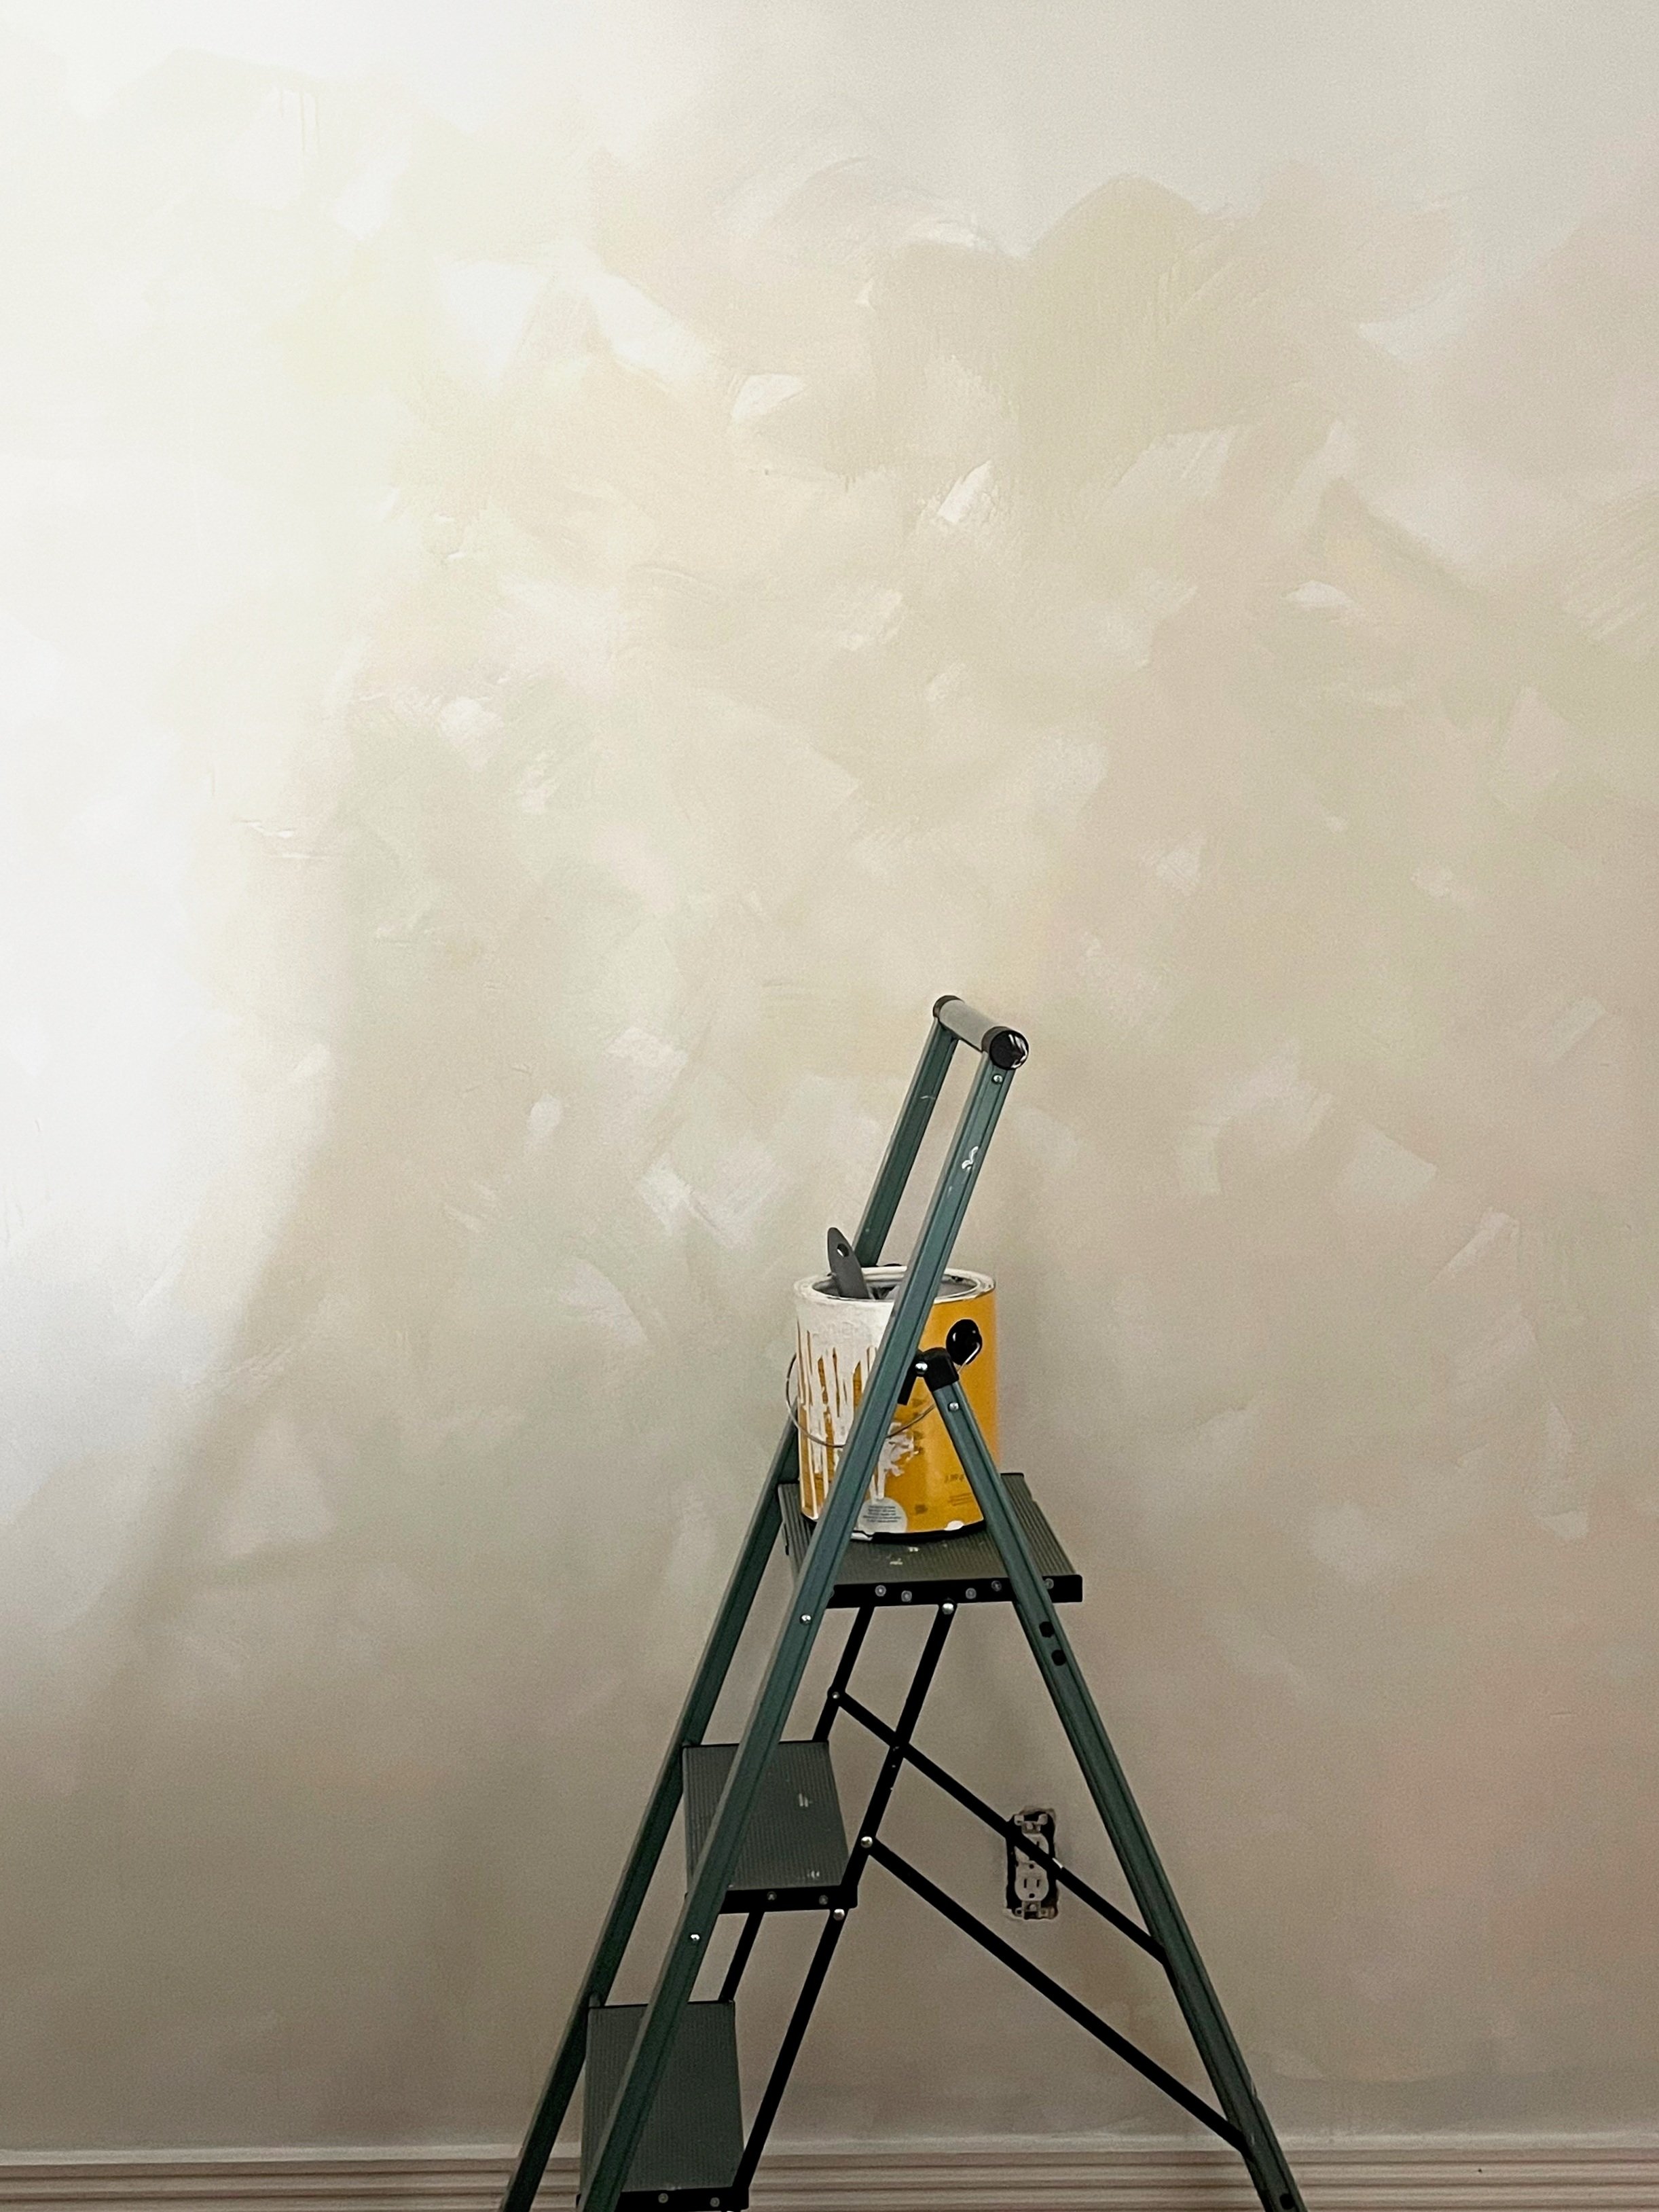
After the first coat of “Going to the Chapel”
If you're feeling adventurous and want to take your faux lime wash effect to the next level, consider adding a third paint color. The steps for this are the same as those for the first two colors – create a watery mixture and apply it in "x" patterns.
Step 9: Enhance Dimension
Even if you're using only two colors initially, you can enhance the dimension of your faux lime wash by going back in with both the darker and lighter shades. This step will make your walls truly pop and give them an authentic limewash appearance. I did one coat of the darker color, then one layer of the lighter color, followed by another layer of the darker color, and finishing with a final layer of the lighter color to achieve the look I was aiming for.
Step 10: Stand Back and Admire Your Work

Once you've completed the painting process and are satisfied with the results, step back and take a moment to admire your masterpiece. You've successfully transformed your walls into a work of art, and the best part is that it's completely renter-friendly and budget-friendly.
In conclusion, creating a faux lime wash effect on your walls using regular paint is not only a budget-friendly alternative to the real thing but also a fun and rewarding DIY project. By following these steps, you can achieve a stunning textured look that adds character and warmth to any room.
Voilà! You've successfully transformed your walls with a stunning faux lime wash effect, and the best part is, it's renter-friendly and cost-effective. With just a bit of paint and some patience, you've created a captivating texture that brightens up your space and adds cozy, intimate vibes – perfect for a dining room or any room where you want to entertain.
So, what are you waiting for? Give it a try, and you'll be amazed at the results. Don't forget to share your experience in the comments below. I'd love to hear how this DIY project worked out for you and see any pictures of your beautiful faux lime wash walls!
Remember, you don't need to commit to permanent changes to make your space feel special. With a little creativity and some paint, you can turn your rental into a personalized haven that reflects your style and personality. Happy painting!
Affiliate Disclosure: Some of the links on this website are affiliate links, which means I may earn a commission if you click on them and make a purchase. Your use of these links helps support my website, and I only recommend products or services I genuinely believe in. Thank you for your support!